

Announcements
-
Similar Content
-
-
Latest Posts
-
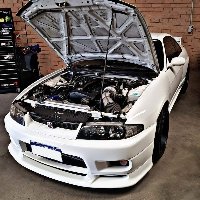
 You don't need to lean as far to pour the oil in, or change the spark plugs either 😛
 -
 Indeed, it is much easier to get at the filter with the engine on a stand
 -
Duncan often changes engines before changing the oil...
-
-
 I hope you mean engine oil change haha
-


Recommended Posts
Create an account or sign in to comment
You need to be a member in order to leave a comment
Create an account
Sign up for a new account in our community. It's easy!
Register a new accountSign in
Already have an account? Sign in here.
Sign In Now